Mirrors are not only functional; they also provide a space for us to express ourselves in our houses. Instead of settling for a plain mirror, why not try your hand at DIY mirror framing? This project allows you to express your creativity while also adding a personal touch to your house decor. Let’s dive into the world of DIY mirror framing and learn about the processes, aesthetics, and reasons why this project is excellent for anyone wishing to add a little personality to their living spaces.
Starting with the Basics
You don’t have to be a master carpenter to do a DIY mirror frame project. With a few affordable tools and materials, simple mirrors may be readily modified to complement the décor of your home. Purchase the essential supplies, such as a miter saw, wood glue, sandpaper, and the frame material of your choice—you may use driftwood for a beachy effect, molding, or even salvaged wood.
Choosing the Right Mirror
Choosing the right mirror is the first step in any DIY mirror framing project. All mirrors are not created equal. Consider the size, form, and style that will complement your concept. Like a gold mine, affordable mirrors with promise can be found at garage sales and charity stores.
Choosing the Right Frame
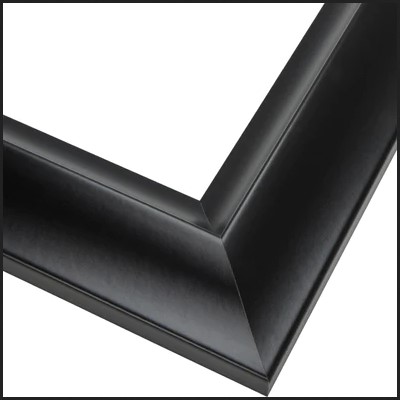
The frame is the main point of any DIY mirror framing project. The material, style, and finish of the frame established the overall look of the project. Choose a frame that complements your current décor, whether it’s eclectic, modern, or rustic. Your design selections will determine whether the frame is a statement piece or a hidden accent.
The old carpenter’s rule applies when it comes to DIY mirror framing: measure twice, cut once. Precise measurements are required to ensure a comfortable fit. Measure the dimensions of your mirror and mark the frame material accordingly. Measurements should be carefully double-verified, as taking your time now will save you time later.
Mitre Cuts for a Polished Appearance
Mitre cuts are required for clean, polished corners. A miter saw makes it easy to make angled cuts at the corners of your frame material. Make sure the saw is at the right angle for accurate cuts. Miter cuts can make your do-it-yourself mirror frame project look more polished and professional.
Sanding for Smoothness
Smooth surfaces and edges improve the overall appearance of your framed mirror. After the necessary cuts have been completed, sandpaper can be used to smooth any rough edges. This technique ensures that the end product is both safe and pleasurable while also boosting its visual attractiveness.
Carefully Applying Wood Glue
Carefully applying wood glue is required for building the frame. While applying the glue, make sure the mitered edges are evenly coated. Gently press the corners together to hold them in place until the glue solidifies. Clamps can be used to hold the frame in place while the adhesive dries throughout this process.
Adding Personal Flavour
One of the appeals of DIY mirror framing is the opportunity to include your personality. Consider adding embellishments like paint, ornate molding, or even a weathered finish to achieve a vintage look. This is your chance to get creative and make the framed mirror a reflection of your personality.
Adding Finishing Touches with Paint or Stain
The finish you choose will have a big impact on how your framed mirror turns out. You can choose a typical paint color, a stain that shows the natural beauty of the wood, or even a distressed finish for a shabby-chic style. To make the framed mirror fit in with the rest of your decor, experiment with different finishes.
Final Thoughts
To summarize, DIY mirror framing is an artistic activity that transforms a functional product into a personalized work of art. Every step, from selecting the perfect mirror and frame material to carefully cutting and adding your flair, contributes to a finished item that reflects your taste and skill. Accept the process, enjoy the artistic freedom, and watch as your do-it-yourself framed mirror develops into a stunning addition to your home’s decor.