If you’re looking for a stylish and practical way to store your shoes, then look no further than this step-by-step guide to building a chic shoe rack for your space. This guide will walk you through the process of creating a beautiful and functional shoe rack that will fit perfectly in any room. With easy-to-follow instructions and helpful tips, you’ll be able to create a shoe rack that will look great and keep your shoes organized. So, let’s get started!
Step-by-Step Guide to Building a Stylish Shoe Rack for Your Home
Introduction
A shoe rack is a great way to keep your home organized and tidy. It can also be a stylish addition to any room. This step-by-step guide will show you how to build a stylish shoe rack for your home.
Step 1: Gather Your Materials
You will need the following materials to build your shoe rack: wood, screws, drill, saw, sandpaper, and wood glue.
Step 2: Cut the Wood
Using the saw, cut the wood into the desired size and shape for your shoe rack. Make sure to measure twice and cut once to ensure accuracy.
Step 3: Sand the Wood
Using the sandpaper, sand the wood to smooth out any rough edges.
Step 4: Assemble the Pieces
Using the drill and screws, assemble the pieces of wood together to form the frame of the shoe rack.
Step 5: Glue the Pieces
Using the wood glue, glue the pieces of wood together to ensure a secure fit.
Step 6: Finish the Shoe Rack
Once the glue has dried, you can finish the shoe rack by staining or painting it.
Conclusion
Building a stylish shoe rack for your home is a great way to keep your home organized and tidy. With this step-by-step guide, you can easily build a stylish shoe rack for your home.
How to Maximize Your Space with a DIY Shoe Rack: A Step-by-Step Guide
Are you looking for a way to maximize your space and organize your shoes? A DIY shoe rack is a great way to do just that. With a few simple materials and tools, you can create a custom shoe rack that fits your space and style. This step-by-step guide will show you how to build a DIY shoe rack that will help you keep your shoes organized and off the floor.
Step 1: Gather Your Materials
Before you begin, you will need to gather the materials you will need to build your shoe rack. You will need wood, screws, a drill, a saw, and sandpaper. You can purchase these materials at your local hardware store.
Step 2: Measure and Cut the Wood
Once you have your materials, you will need to measure and cut the wood to the desired size. Measure the space where you will be placing the shoe rack and cut the wood accordingly. Make sure to use a saw that is appropriate for the type of wood you are using.
Step 3: Sand the Wood
Once you have cut the wood to the desired size, you will need to sand it. This will help to smooth out any rough edges and make the wood easier to work with. Use a medium-grit sandpaper and sand the wood until it is smooth.
Step 4: Assemble the Shoe Rack
Now that you have the wood cut and sanded, you can begin to assemble the shoe rack. Use the screws and drill to attach the pieces of wood together. Make sure to use screws that are appropriate for the type of wood you are using.
Step 5: Finish the Shoe Rack
Once you have assembled the shoe rack, you can finish it with paint or stain. This will help to protect the wood and give it a finished look. You can also add decorative touches such as hooks or shelves to make the shoe rack more functional.
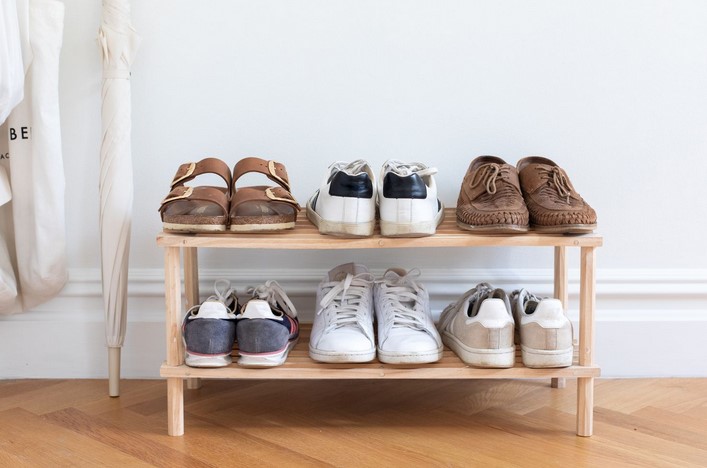
Congratulations! You have now completed your DIY shoe rack. With a few simple materials and tools, you have created a custom shoe rack that will help you keep your shoes organized and off the floor. Enjoy your new shoe rack and the extra space it provides.
Conclusion
The Step by Step: Building a Chic Shoe Rack for Your Space guide is a great way to add a stylish and functional piece of furniture to your home. With the right materials and tools, you can easily create a chic shoe rack that will look great in any space. Not only will it provide you with a great place to store your shoes, but it will also add a touch of style to your home. With a little bit of time and effort, you can create a beautiful and functional shoe rack that will last for years to come.